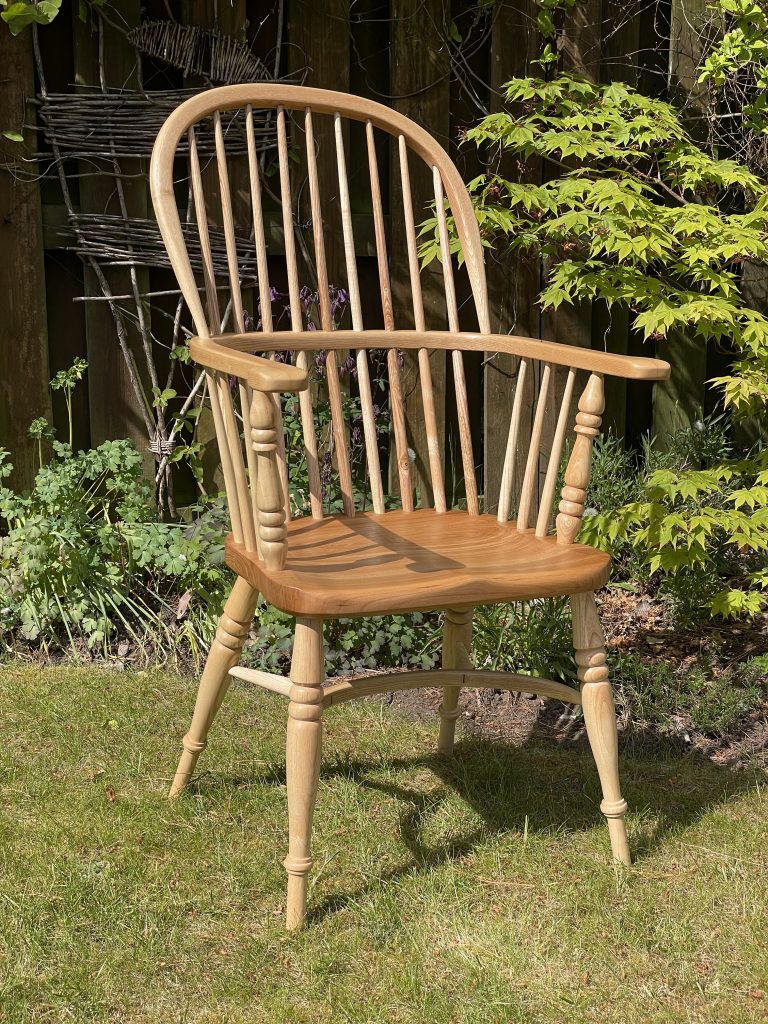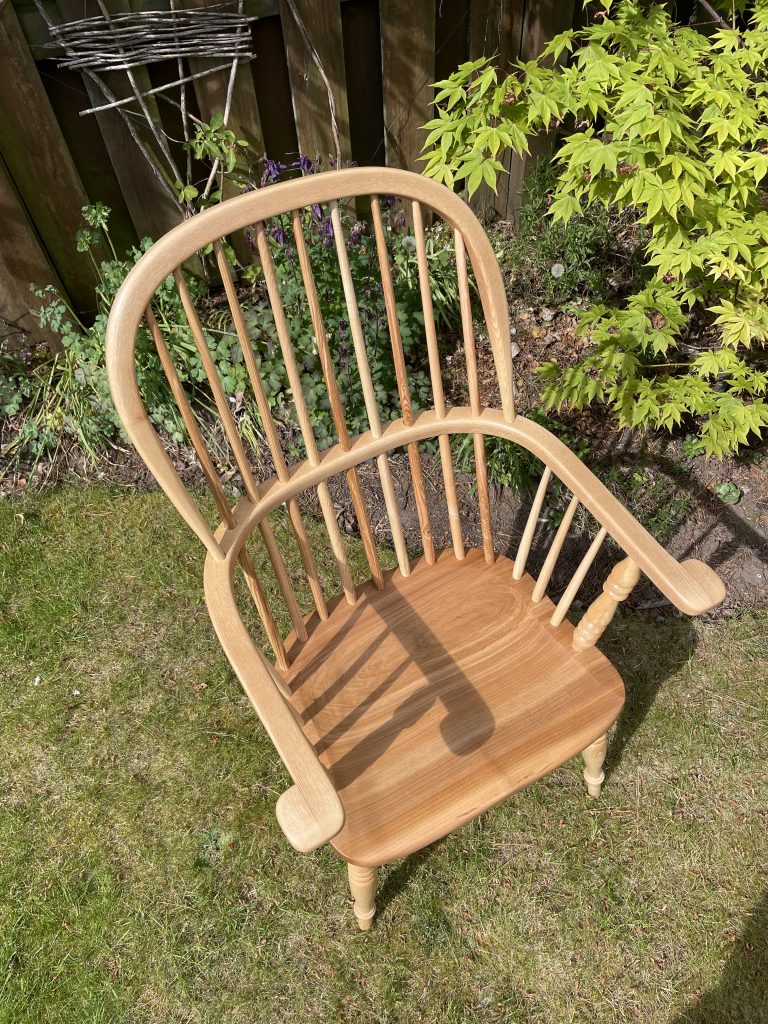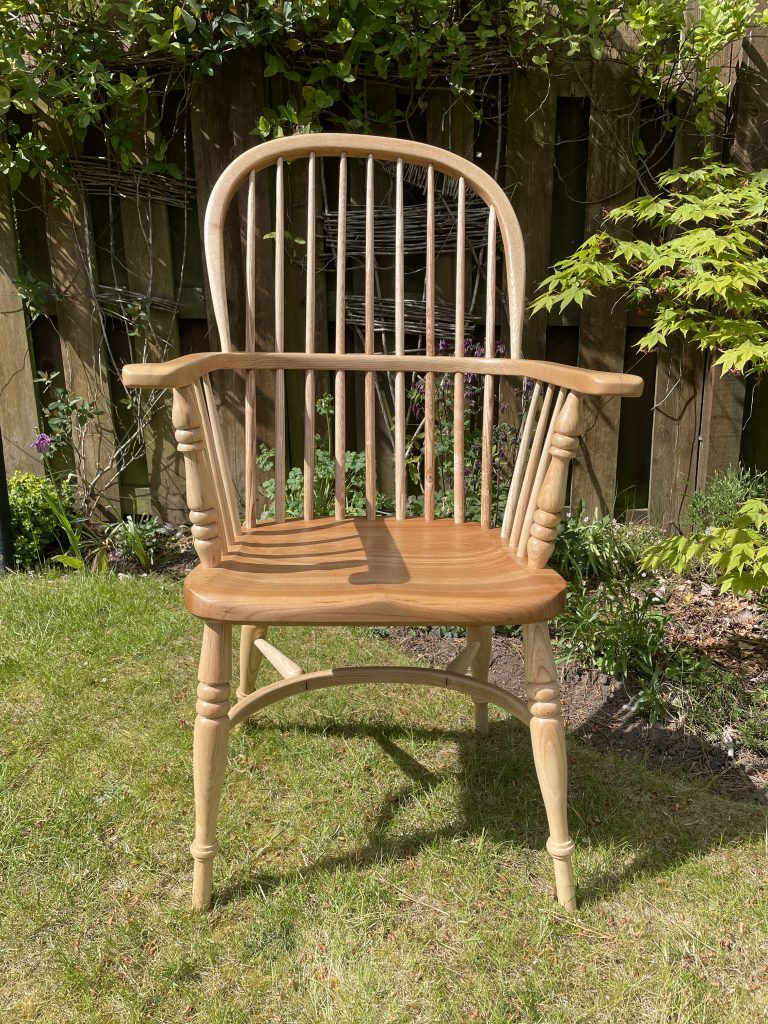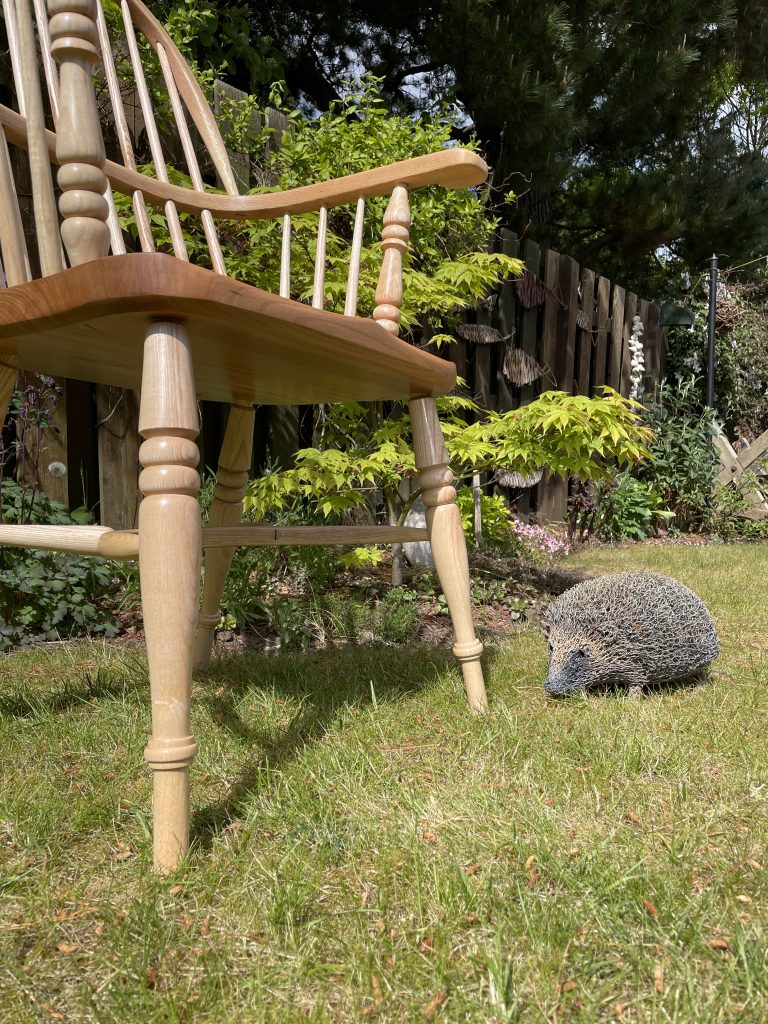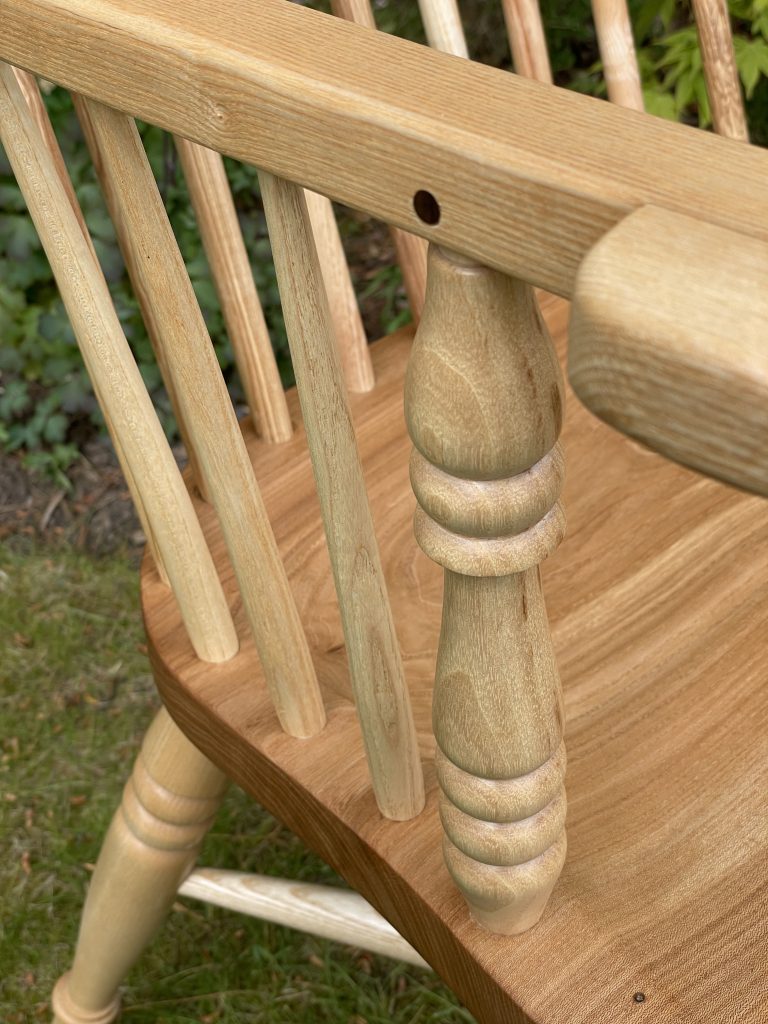
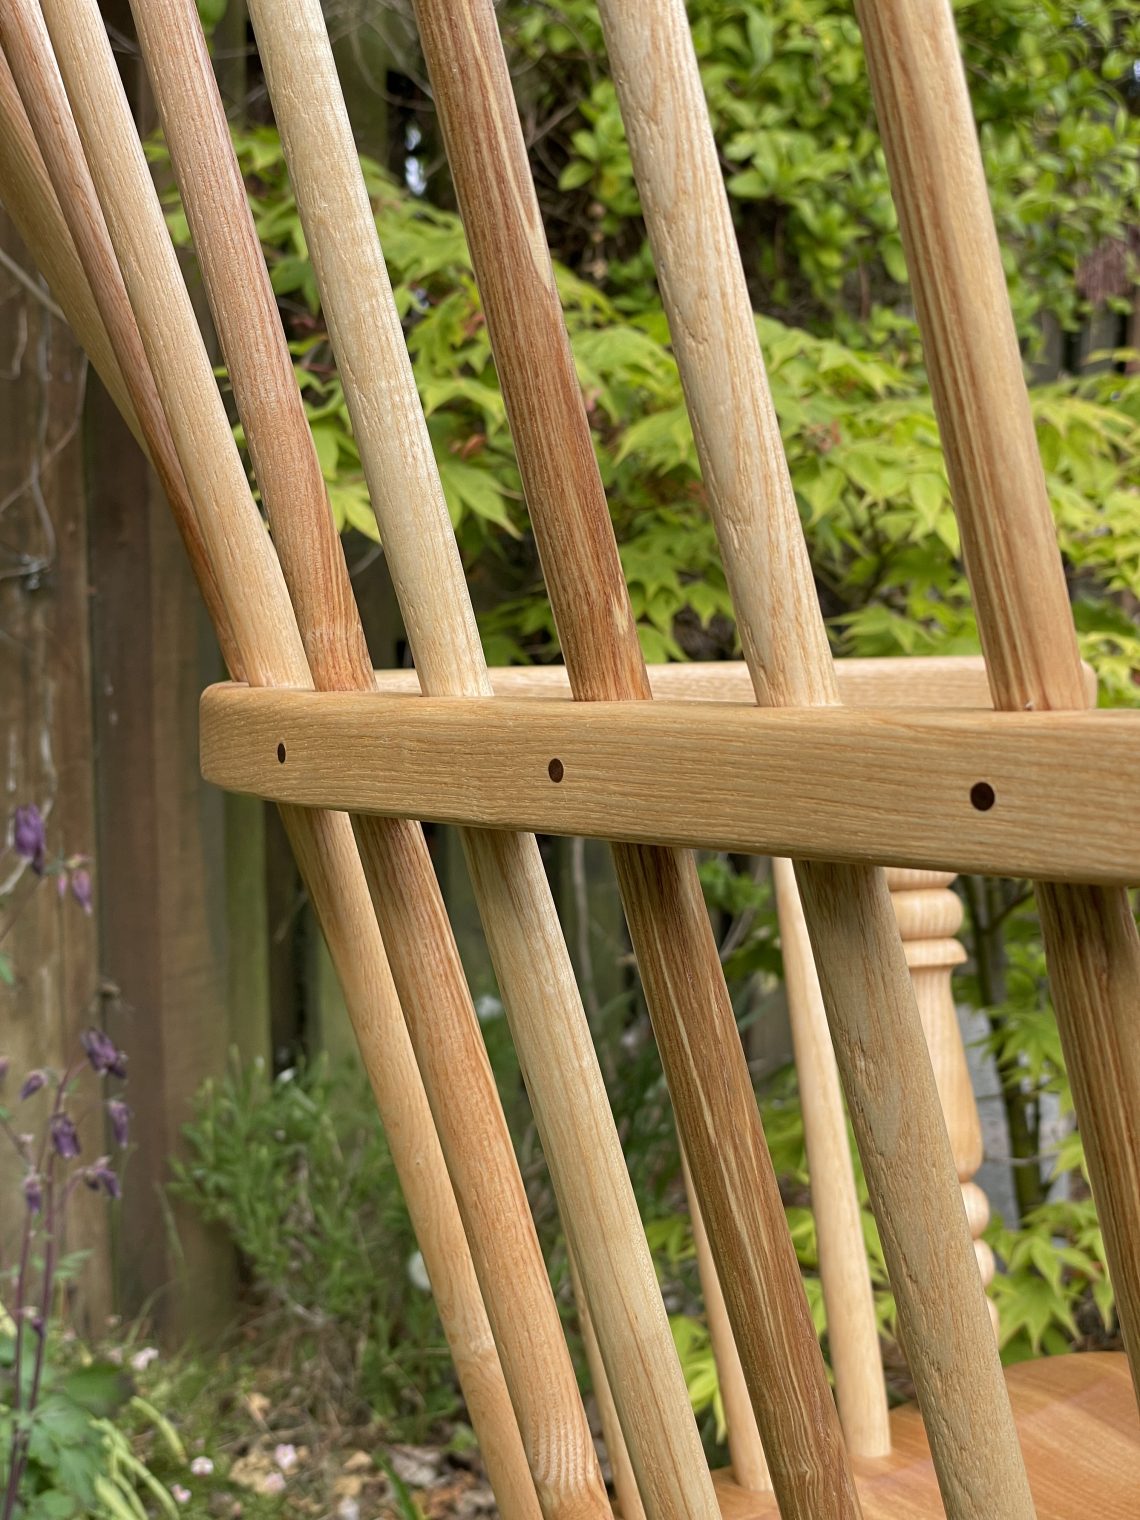
As part of the professional furniture-making course at the Chippendale International School of Furniture you get an opportunity to make a Windsor chair as part of a group. The guys from Tom Thackray & Stephen Langton Windsor Chairs arrive and spend a couple of weeks tutoring in steam bending, turning and the manufacture of Windsor chairs. I did the course in 2020-21 and I bought a kit with all the necessary components so that I would be able to make a chair for myself. As the years went on, the kit moved with me through a couple of different workplaces until finally, this year, I decided that I should take the time to make the chair. So, five years later – here are some pictures of the process and the finished chair.
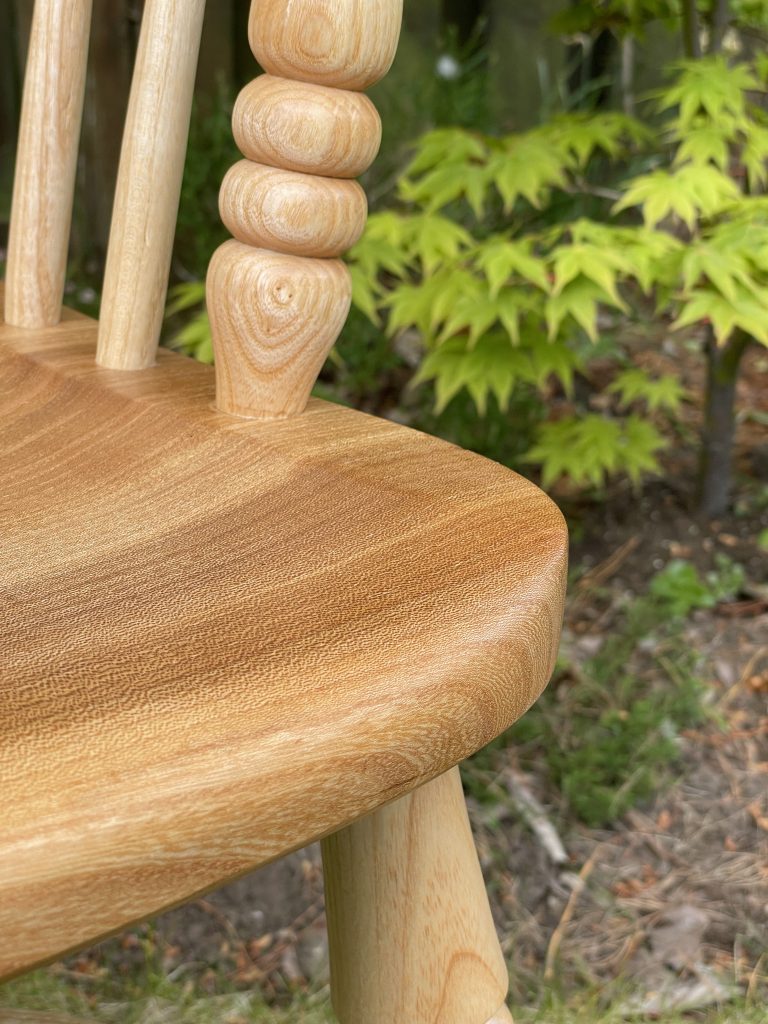
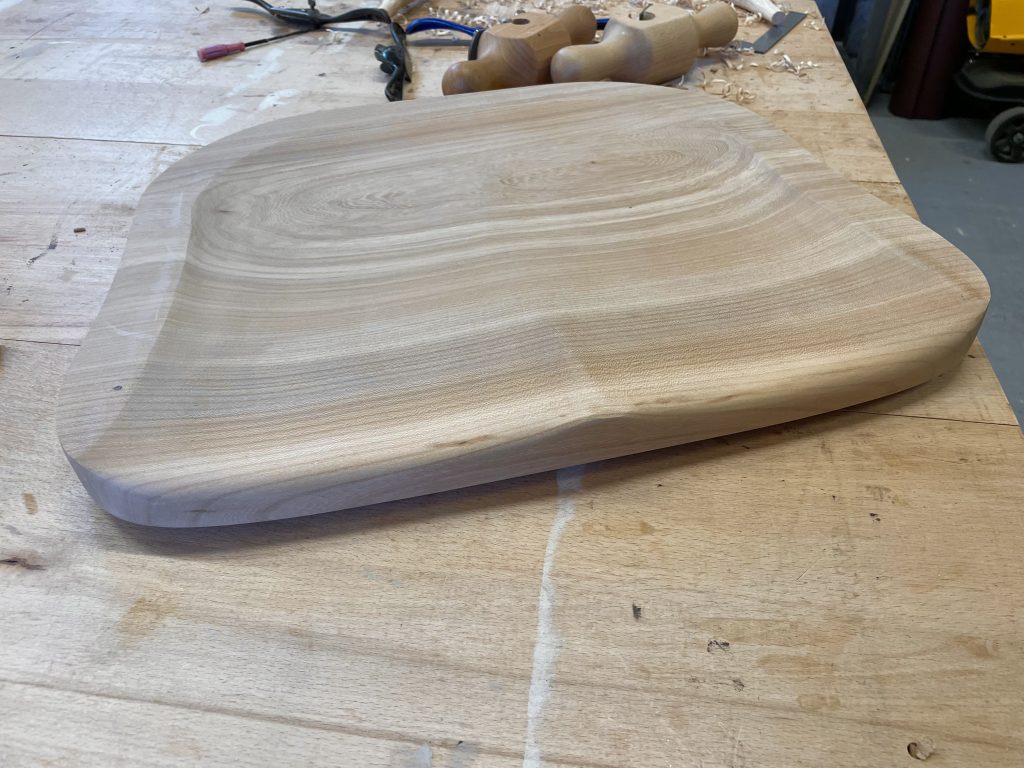
The first step in the making of a Windsor chair is to travish the seat shape by hand. A travisher is pushed over the surface of the wood and the blade on the bottom surface cuts shavings. This is not a job to do on a hot day. After a few hours of work, once I was happy with the shape, I went to work with a sander to make the final seat base you see here.

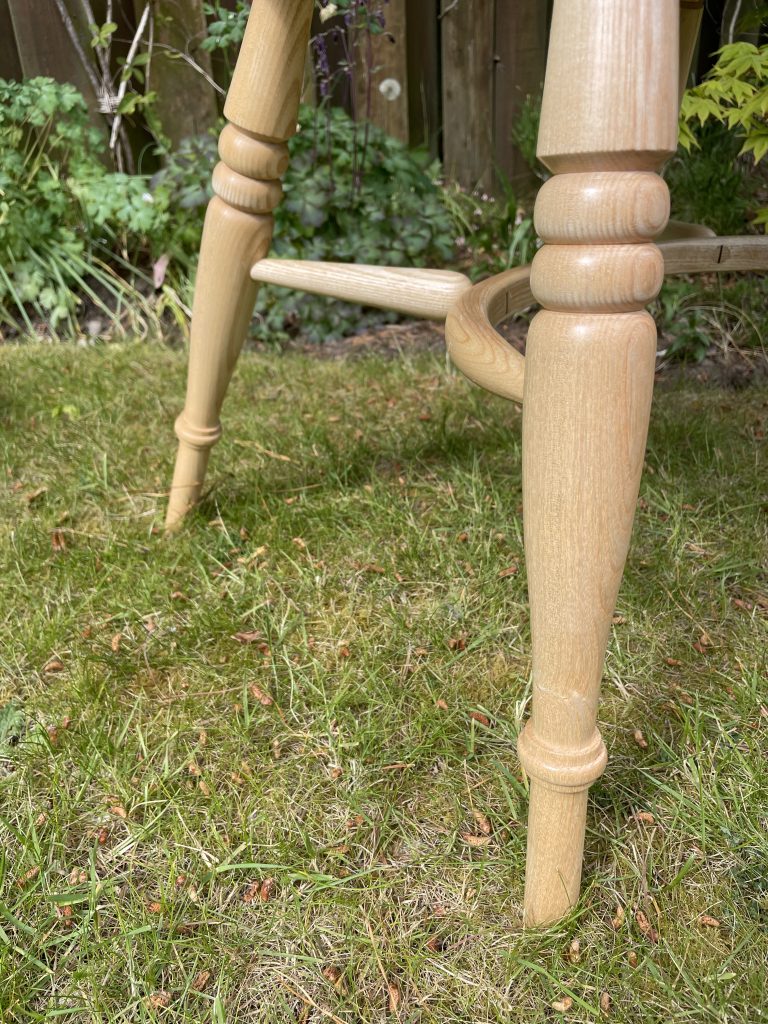
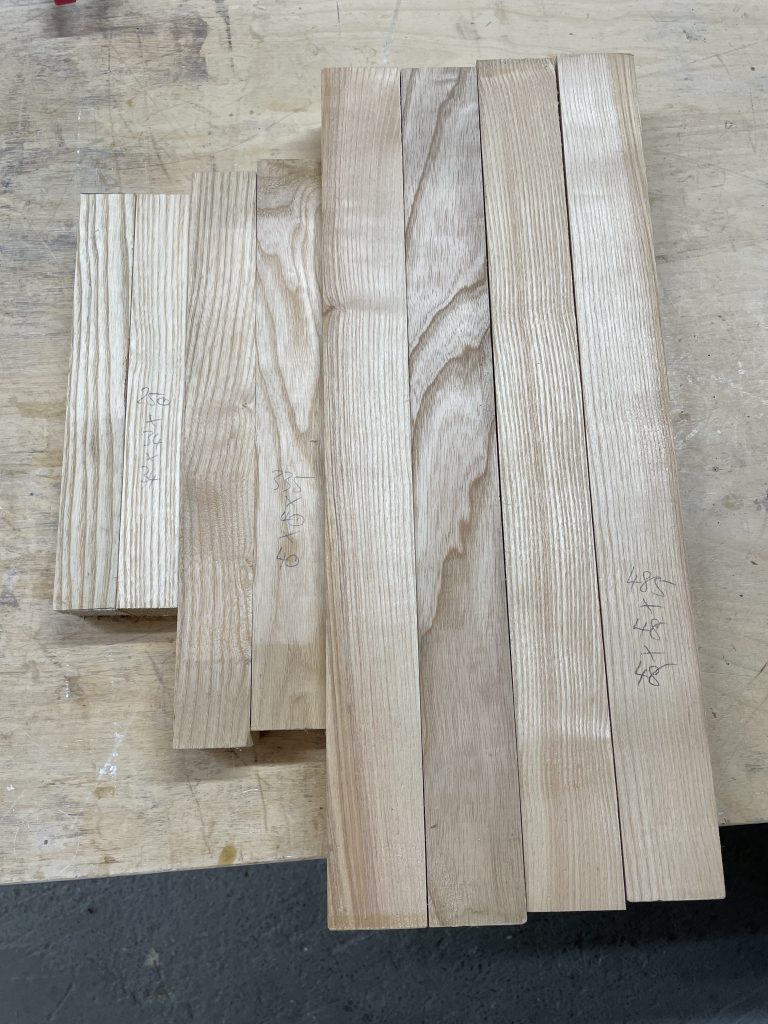
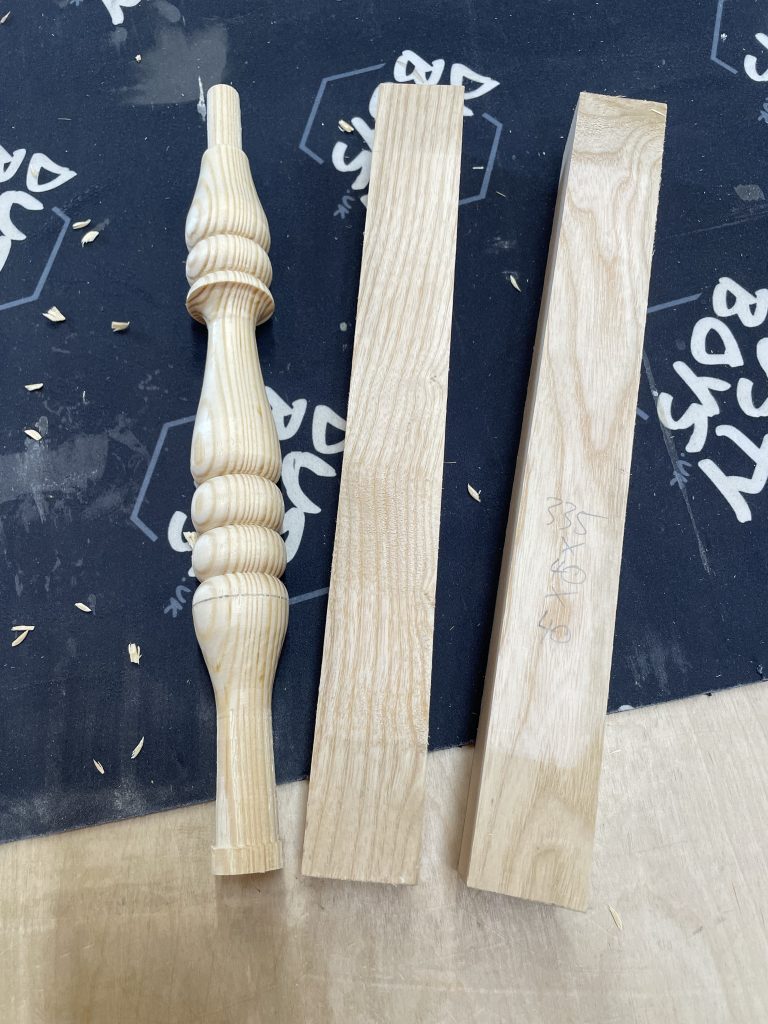
My next job was to turn the four legs, two arm supports and two horns (stretchers). The hardest part isn’t the act of turning a leg; the hardest part is turning all of the legs so that they look like each other! I started by turning a sample in pine so I knew how I was going to make each cut – what turning tool to use and when – and then I just bashed on with the ash stock.
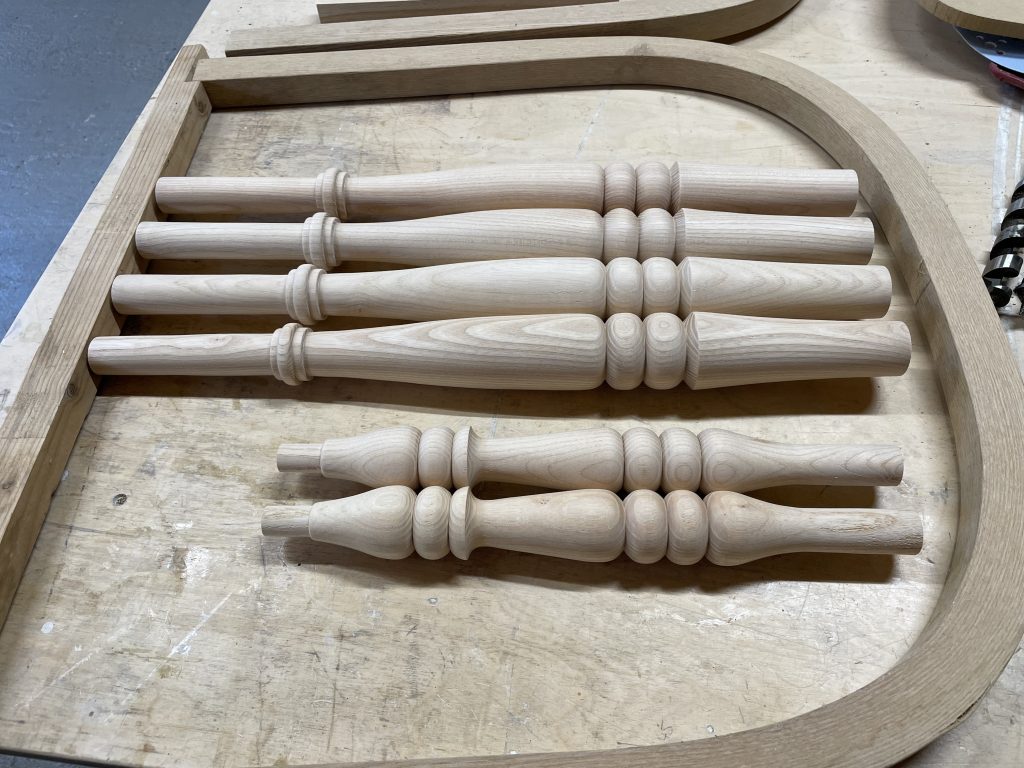
The crinoline is a steam bent piece of wood that acts as a curved stretcher between the two front legs. Two horns attach the rear legs to the crinoline. To shape the crinoline I used spokeshaves to remove the square edges and taper planes to create the correct diameter of tenons at the ends. Some further blending work with spokeshaves and a final sanding gave me a nicely curved crinoline. I then assembled everything with the horns being held in place with wedged tenons.
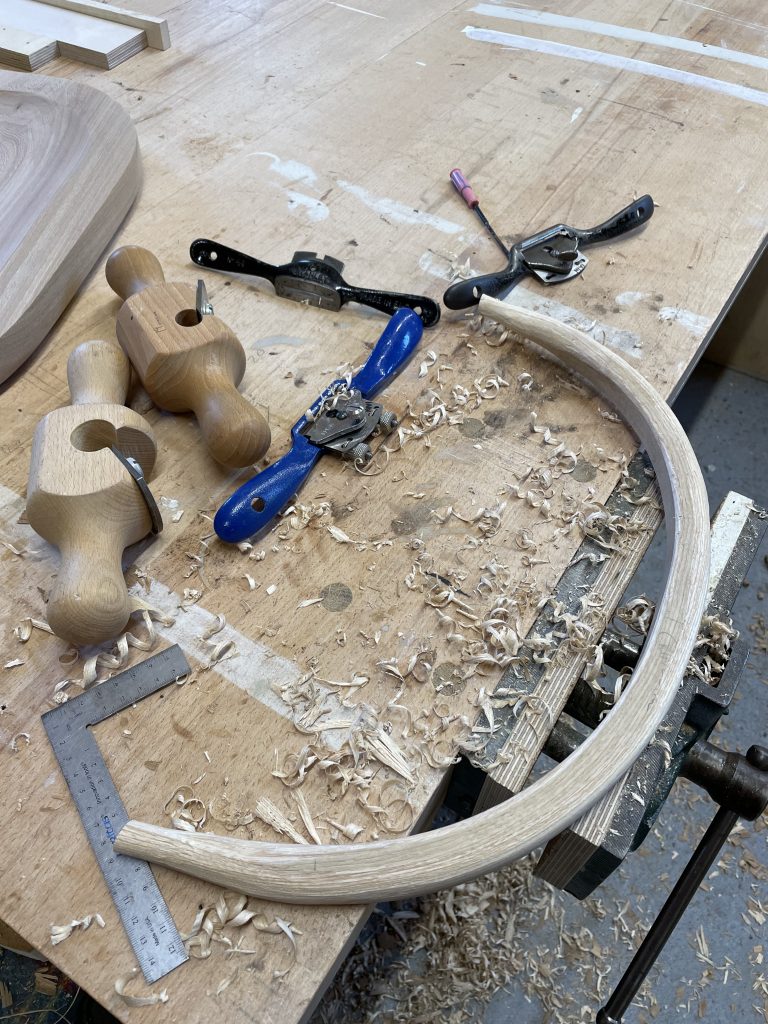
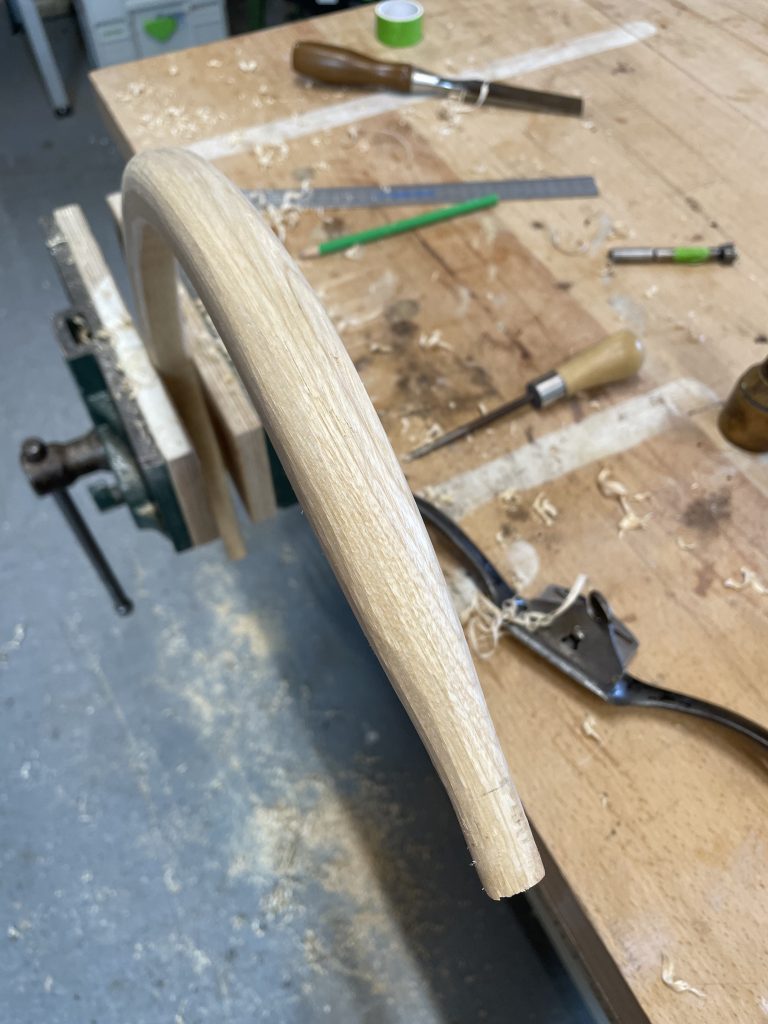
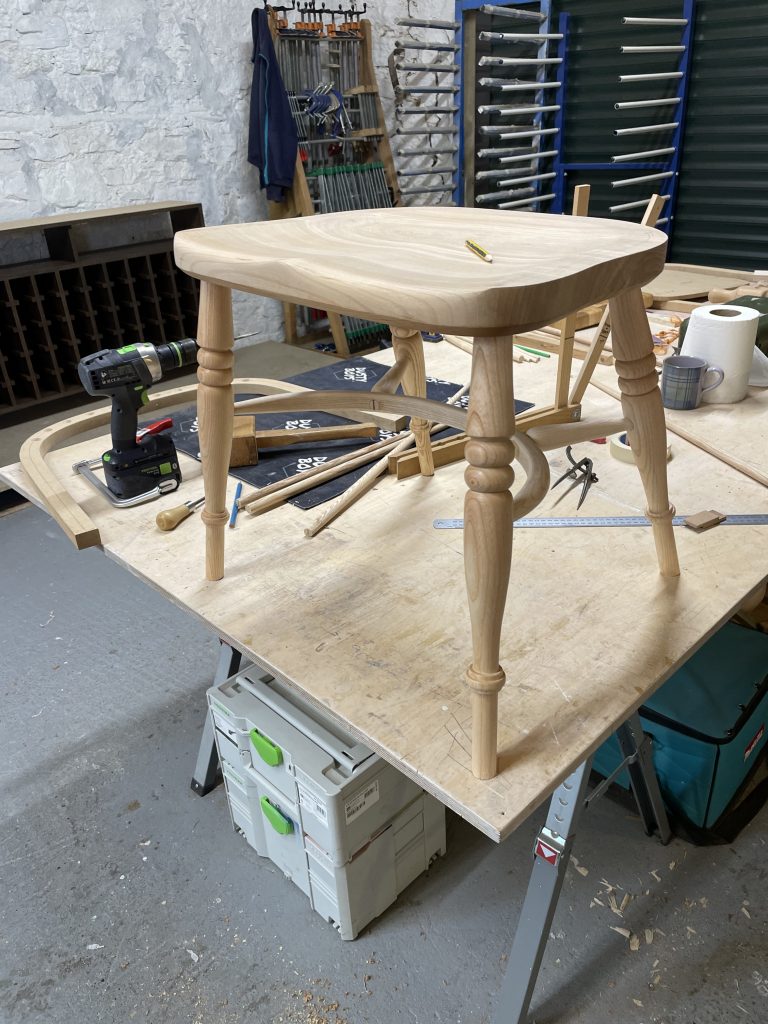
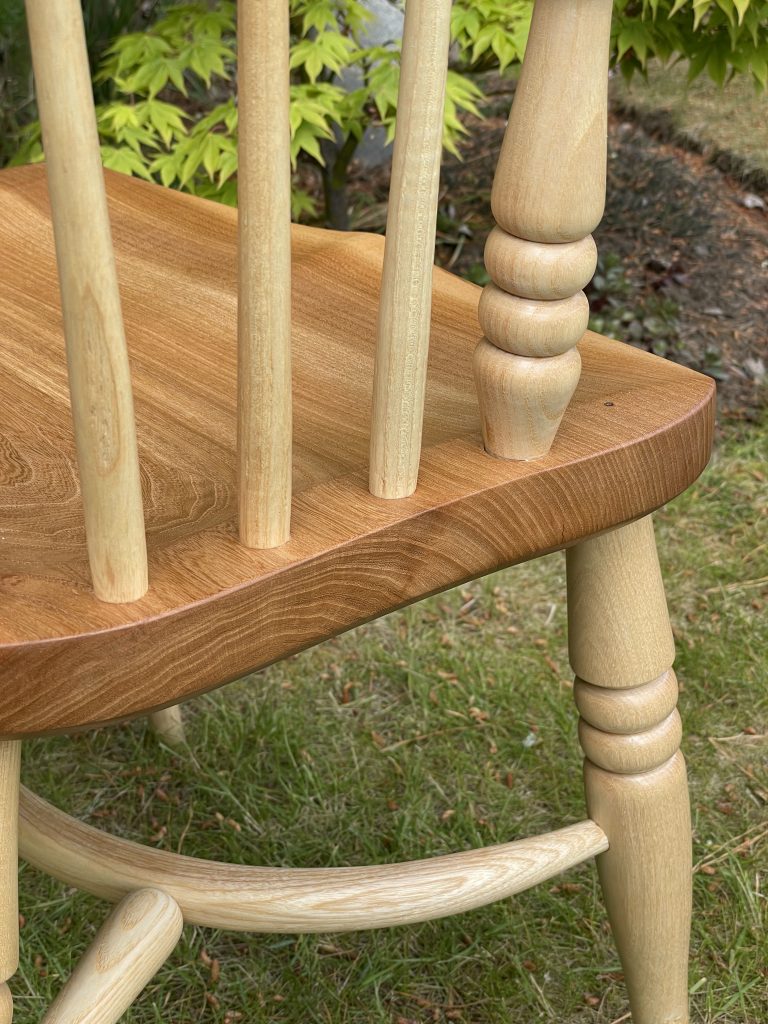
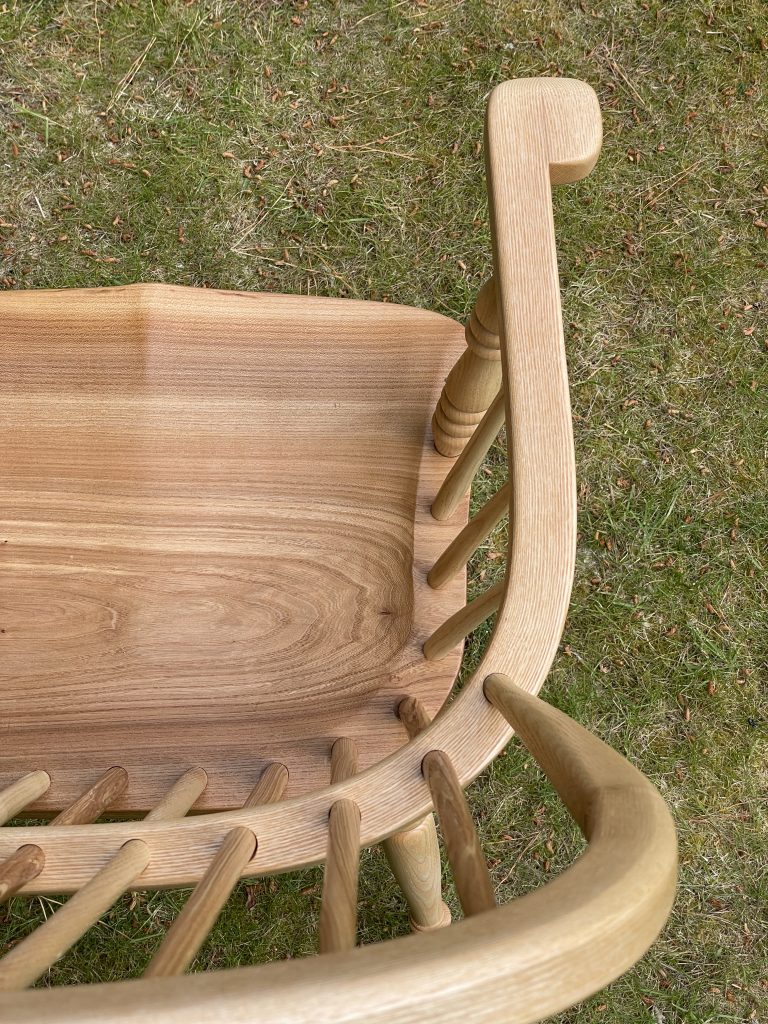
The armrest and backhoop were also made from steambent timber and I shaped them in a similar fashion to the crinoline. Next I shaped the spindles for the backrest using trapping planes and drilled lots of holes at just the right heights, depths and angles. 🙂
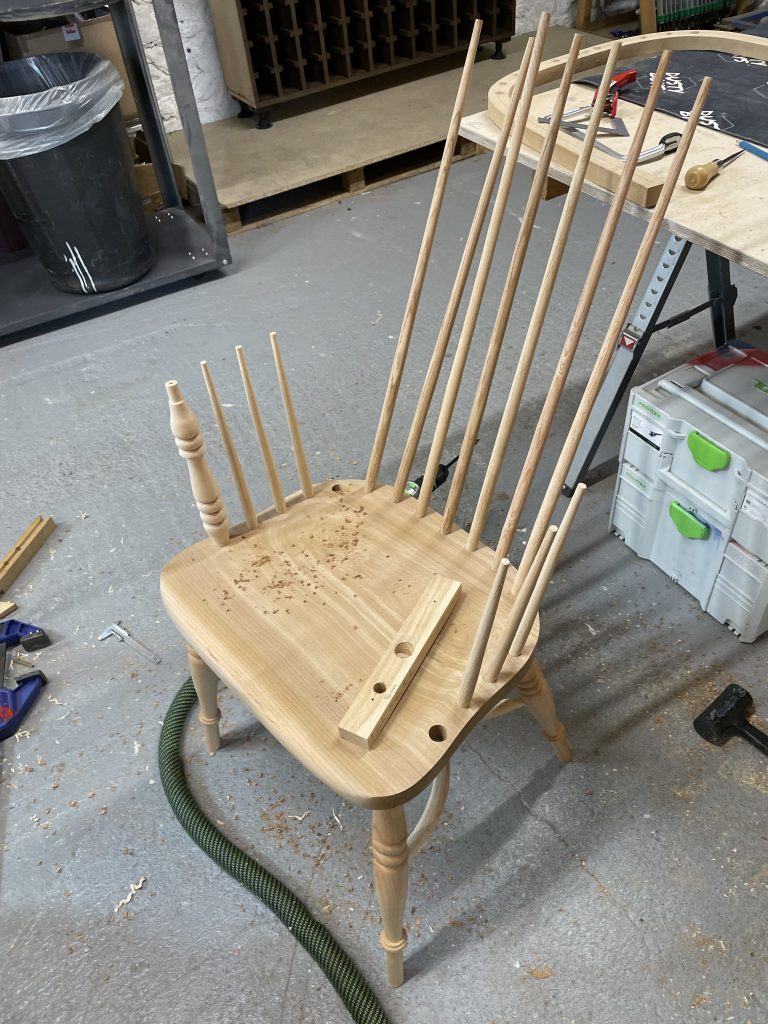
With everything finally assembled it is clear that the backhoop is quite squint – I am not sure whether it was asymmetric when it was first made 5 years ago, or whether the wood has warped over the last 5 years – but either way, it means that my chair is definitely one of a kind and it favours a sitter who leans to the right. 🙂 Final detailed work went into making the hand pads at the ends of the arms, wedges into the base of the back hoop and the arm support, and walnut pegs into the tops of the arm supports and three of the back spindles.
I’m not sure I’ll ever make another – but it was great fun and the chair is something I’ll have for the rest of my life.